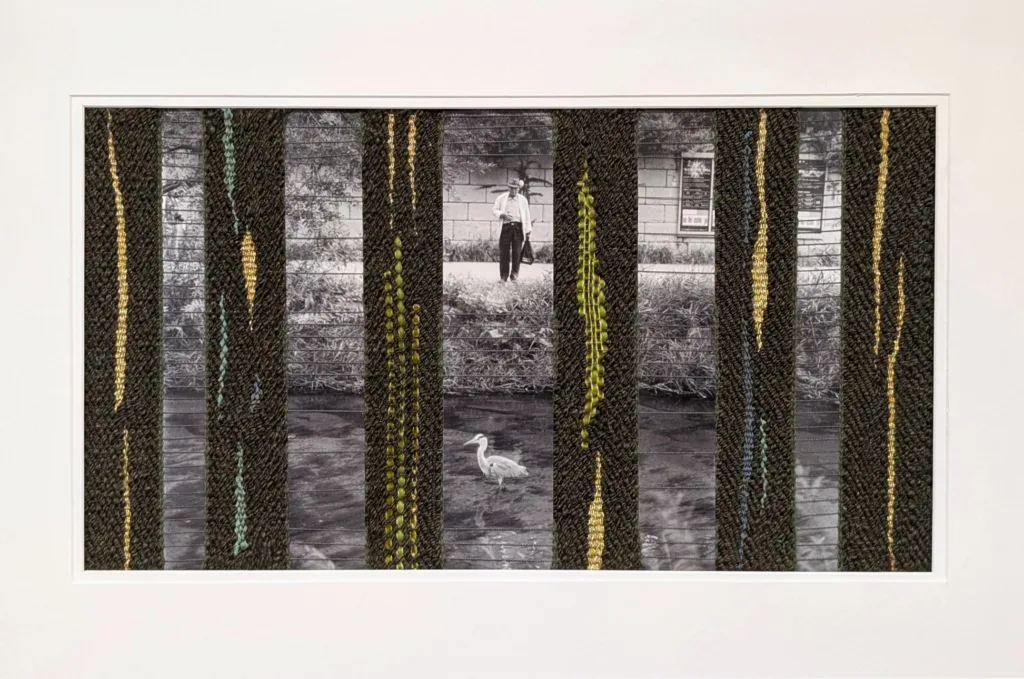
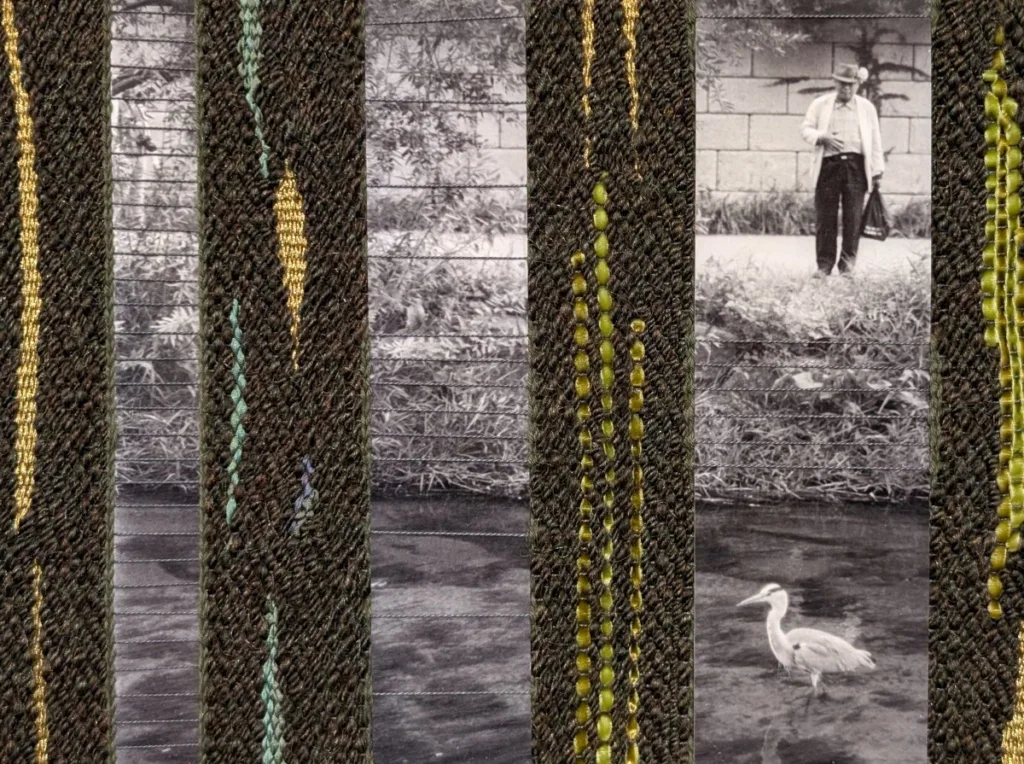
For several months now, I’ve been working on a new piece of art, Grandfather and the Heron.
This project got me thinking about the circular economy and art making, because so many bits of this work depended on someone else’s help.
A circular economy is one that tries to keep materials in continuous use for as long as possible versus the take-make-toss system of a linear economy. This is a different way of thinking about production and consumption. And this shift can’t be done by consumers alone. Manufacturers needs to eliminate waste, manufacture things in the right amount, make things repairable and recyclable, and so on.
But there is a consumer part to this to. Sharing, repairing and refurbishing, recycling, repurposing, and buying secondhand are all methods to keep goods in service for as long as possible. And this piece of art several elements, in material and process, that relate to a circular economy.
A Circular Economy for Tools, Materials, and Books
Tools
Most of my tools are used.
I bought the bulk of my darkroom supplies from a man who was closing up his darkroom. He sold me everything I needed to start except for the sink. The enlarger—a Beseler 23C II that likely dates to the late 60s or so—was a big win. But there are smaller wins too. For example, I’m storing chemistry in the same Gatorade bottles he labeled and used more than 20 years ago.
I’ve added a lot to the darkroom over time. My easels are all secondhand, and I really like my Spiratone Darkroom Director timer, which belonged to an unknown Linda. Every film camera I’ve owned belonged to someone else first.
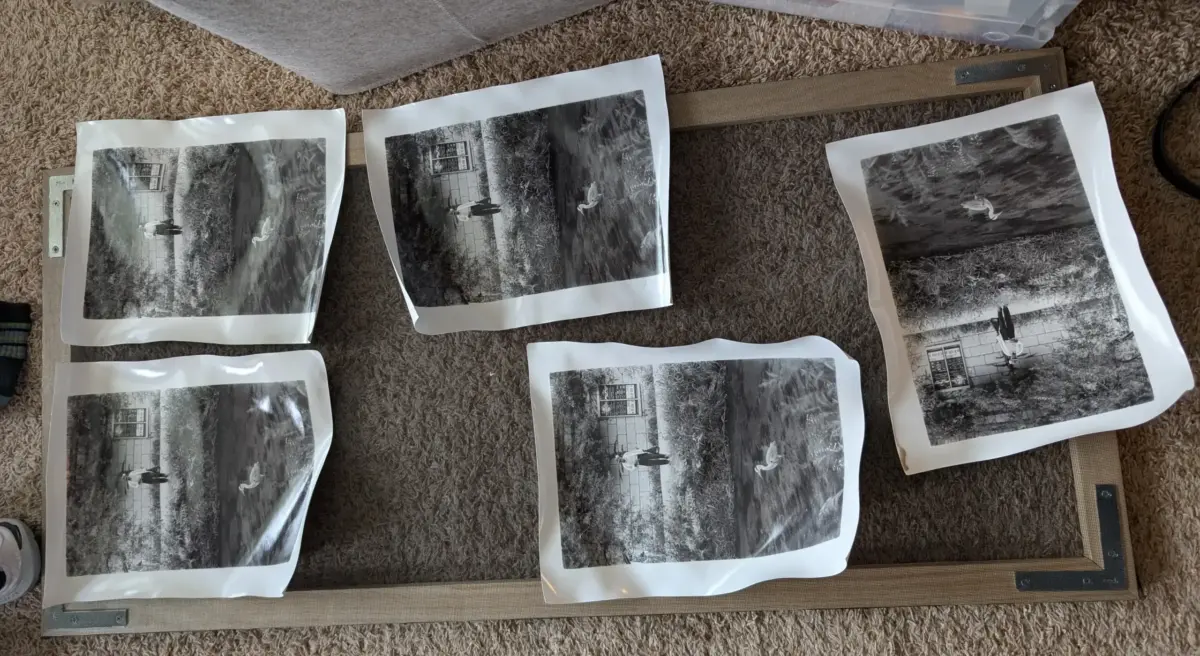
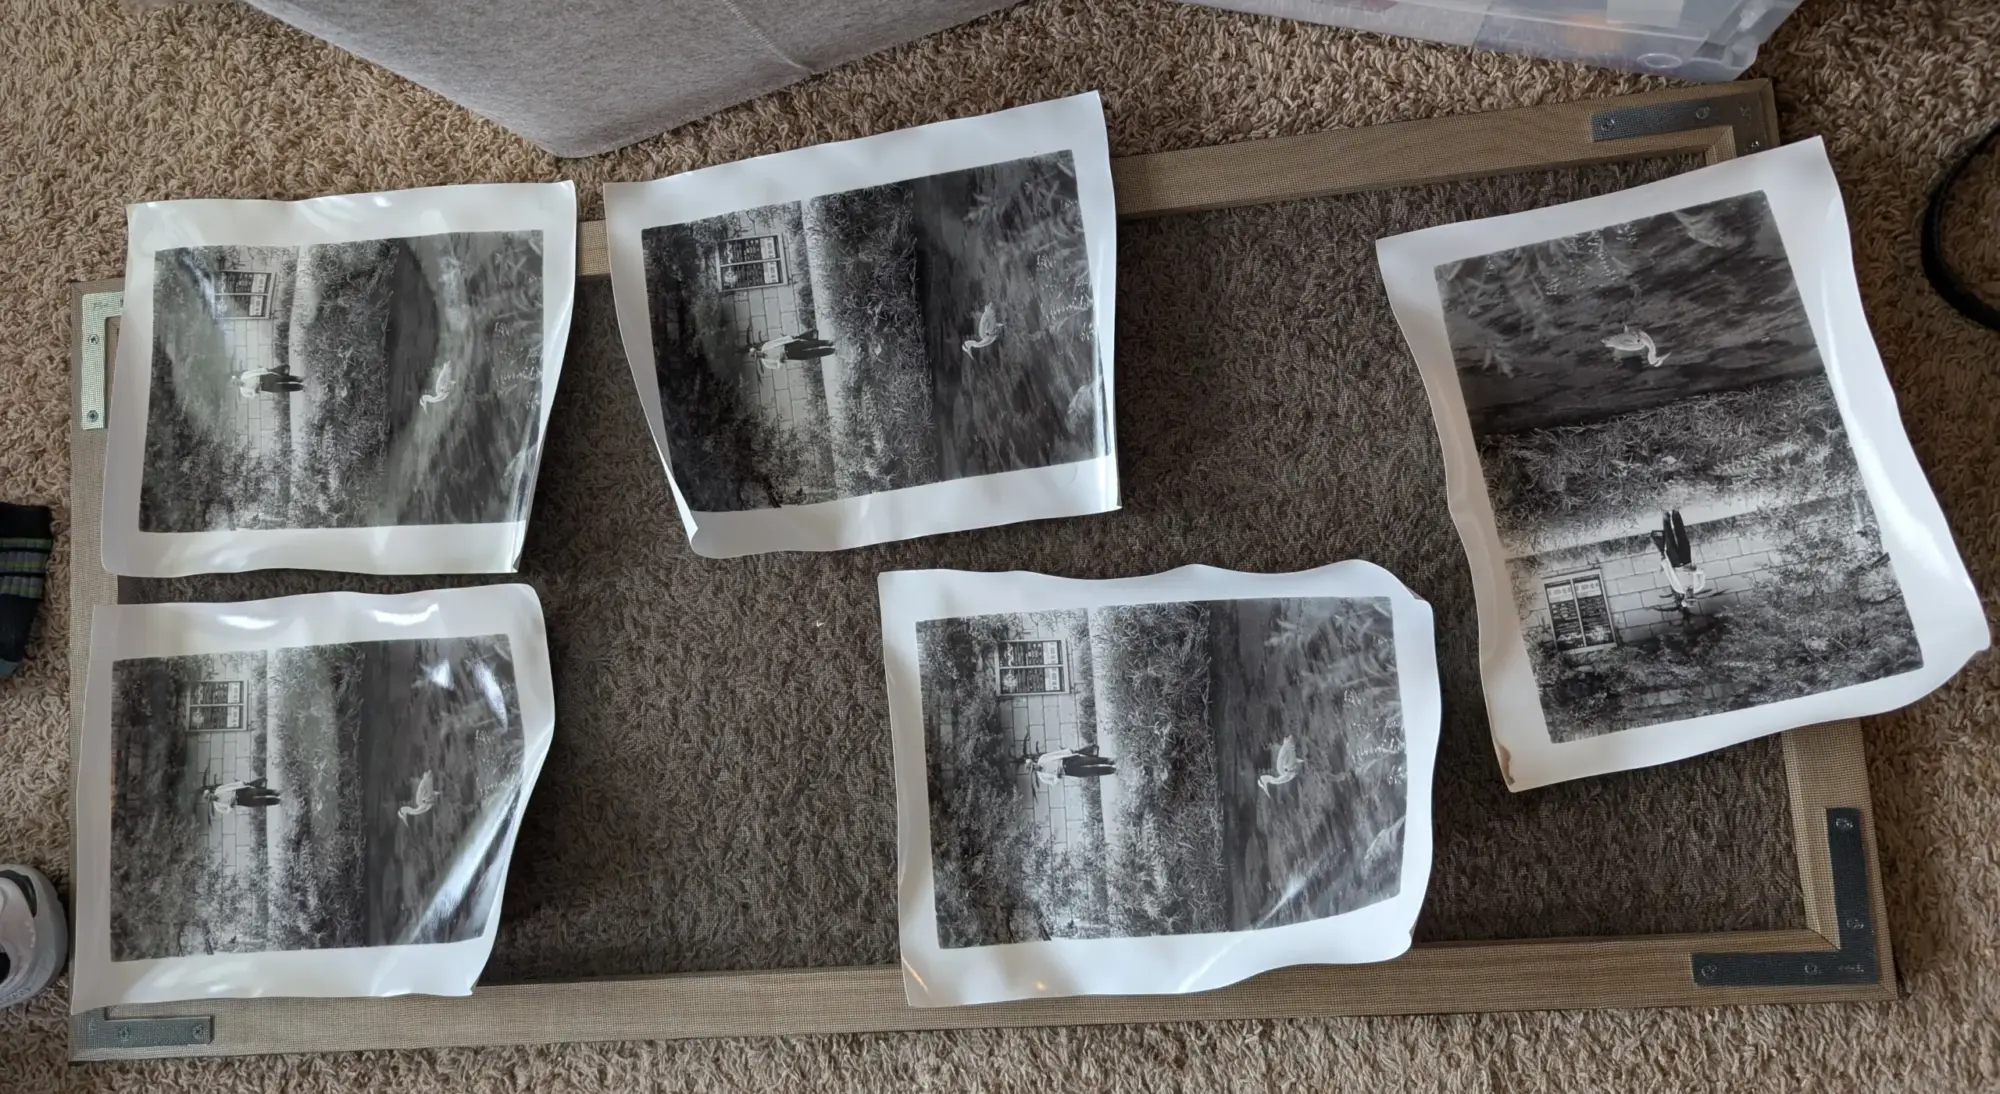
To help flatten fiber prints, I press them in a repurposed t-shirt press, then cool them under a heavy, thick piece of plate glass I got for $1 from the University of Minnesota’s Reuse Store.
Because very few manufacturers are making new darkroom materials or film cameras, it’s no surprise that most of my gear is used. But it’s a testament to how well-made these things were that they’re still around. (Beselers were common in high school darkrooms in America; they’re built like tanks.)
The sewing studio is similar. All of my sewing machines are secondhand. My oldest is 110-year old treadle machine that I’ve used to make baby blankets. My “youngest” machine is a twenty year old Pfaff.
When people ask me what machine to get for their first sewing machine, I always tell them to look for a Japanese Singer knockoff. Those post-WWII machines are solid, easy to repair and hard to break.
These items were made when manufacturers used similar pieces from model to model, and they were made to be repairable. In fact, you can find repair manuals for sewing machines, typewriters, and enlargers online.
Supplies
For photography, most of my supplies are new. Film, paper, and chemistry are all consumables and other than buying discontinued paper on eBay, I tend to buy these new.
But fiber and textiles are different. I’ve been given a lot of fabric and fiber. And I tend to buy fabric from SR Harris, a local store that gets “deadstock” fabric, closeouts, and factory seconds.
The Textile Center’s garage sale is an amazing example of a circular economy. People donate their goods and volunteers help run the show. Each sale is slightly different. One year I found tons of simple drop spindles and a lot of wool fiber for spinning; this year there wasn’t much spinning fiber, but someone donated a humongous loom.
I’ve volunteered there a few times, including their most recent sale in May. While I was sorting through the global and vintage fabrics, I found a silk obi belt. I bought that belt at the garage sale back in 2021, donated it again a few years later, and saw it in 2026. The obi hasn’t been (re)used yet, but I trust it will be one day!
Books
I very rarely buy new photography books. Since I do darkroom work, most of the books I want are out of print. I find a lot of books on eBay, but I’ll also use interlibrary loan to check out books for a few weeks and see if they’re worth purchasing.
For fiber and textile arts, I tend to buy new and used at about the same rate. The Textile Center’s garage sale is a great source of books, and the organization also has a huge library that I’ve used before.
Making Grandfather and the Heron Using Resources from a Circular Economy
I made this photoweaving on a wooden pin loom I created. I wove together a toned gelatin silver photograph with olive green wool and nylon yarn I spun using a drop spindle. (I call it my “swamp witch yarn.”) I also incorporated bits of cotton, silk, velvet, and metallic embroidery thread into the weaving. When it was finished, I matted the piece. Finally, I built the wooden picture frame for the piece.
The silk ribbon is made by Bucilla, and has been discontinued for about 15 years. I found some of it at the Textile Center’s garage sale and bought the rest of it from a small business on Etsy.
For the loom, I first tried building a prototype by hand using a small miter box and miter saw. I’ve handcut miters before without any issue, but this time the lymphedema I developed after my cancer treatments flared up.
I definitely wasn’t going to be able to make a picture frame using a hand saw.
I belong to my neighborhood’s Buy Nothing group, which is a hyperlocal group where people can give things away, borrow things, or make other local connections.1
I asked if anyone had a miter saw I could borrow. One person suggested I check out the Minnesota Tool Library’s local branch, but I soon got a response from a neighbor a few miles away willing to loan my his miter saw. A friend with a minivan brought me over to his house and he gave me a quick demo on using the miter saw. He even toss in a wrench in case I needed to adjust anything. A few minutes later, the miter saw (and stand!) were at my place.
I was able to use it, for free, for months.
In that time, I was able to make several loom prototypes, the pin loom, the frame, and a drying rack for my darkroom.
When I told my friends I’d borrowed a miter saw from a stranger, they were amazed. I was too, honestly. I knew our Buy Nothing group was great, but trusting a stranger with a 12” miter saw… that was something special.
While I was building the frame, I asked the Buy Nothing group is anyone had some stain left over so I could test out different colors. One person told me to check out the Reuse Room at the the county’s Environmental Center, where we drop off electronic and hazardous waste.
I visited the Reuse Room, which was well organized and spacious. They have cleaning supplies, paint, stain, primers and the like. There are some size and item restrictions, but I was able to pick up ten items for free!
I got eight different colors of stain, a wood conditioner, and a polyurethane. I was super excited to get to try out different stains, and I found most of the tins were more than three-quarters full; in fact, I’m sure some of them hadn’t even been used.
There was an unexpected benefit of getting these used tins: I got to test out different brands and formulations of stain, which helped me find brands I’d never heard of (General Finishes and Old Masters were both great!). I did end up using wood conditioner and stain from the Reuse Room. I saved so much money, and I gained a bunch of knowledge from the experiment too.
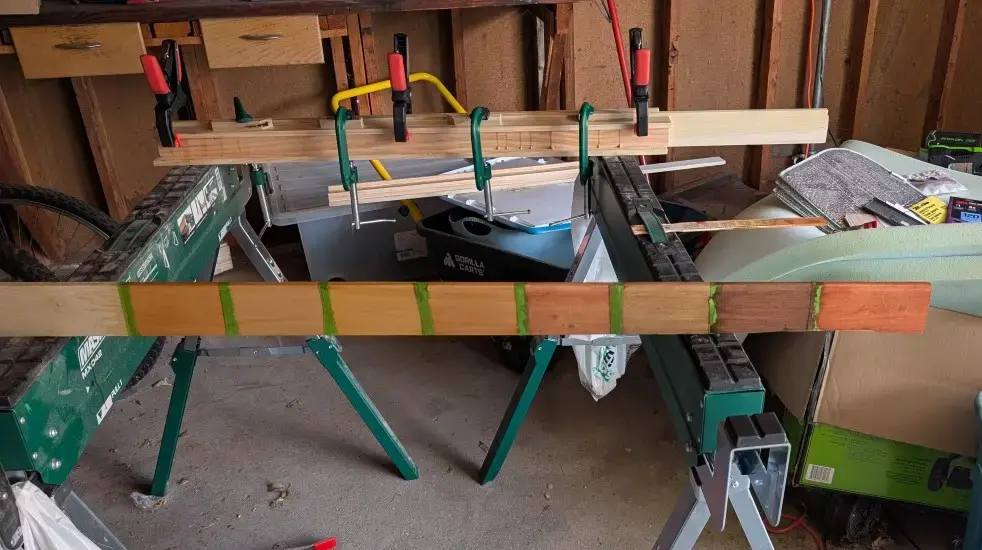
To finish the project, I needed to cut some mat board, which I’d never done before. My friend Mark taught me how to use his mat board cutter, then loaned me that, some extra blades, scrap board to practice with, and some full sheets of mat board in case the color was a good match. He also had a point setter (to insert those little metal points that help hold the backer board in place) that he loaned me (with points, of course).
While working on this, I also referenced an out-of-print book, Tim Rudman’s The Master Photographer’s Toning Course, which I bought used online. And I was lucky to find Rebecca Mezoff’s helpful book The Art of Tapestry Weaving at this year’s garage sale. Perfect timing!
So for this project, I used secondhand photography and darkroom equipment to create a print. I combined the print with fibers—including that discontinued silk ribbon that I bought secondhand—using a pin loom which I made using a borrowed miter saw. I cut mat and put together a picture frame using borrowed tools, and then I finished the frame using wood conditioner and stain that was diverted from the landfill. And I supported all of this work with secondhand books.
Making this piece of art was a great reminder that my community—friends, strangers, art centers, universities, and government-supported initiatives—can help support my artistic practice. I’m eager to see how I can continue to participate in a circular economy in my artistic practice!
- My Buy Nothing group is mostly people exchanging goods. But people will also ask for help with yardwork or errand running. I once gave away some kimchi, using a random name generator to choose someone. One person, Allison, wasn’t picked in the random draw. I told her I’d teach her to make kimchi instead, and we met up and made it together. Since then, we’ve met up several other times to hang out. An unexpected benefit of being a “hyperlocal” group is being able to meet neighbors I’d otherwise never meet! ↩︎
Leave a Reply