Back in the 90s, I occasionally sent friends photo postcards. I used stick-on postcard backs, which make the photos a little stiffer and postcard like, or I just drew a vertical line down the back of a regular photo lab photo, addressed it, and threw a stamp on it.
Now, thirty years later, I’ve come up with a postcard project idea. It involves sending a series of postcards out weekly, with each postcard being different. Although I could use the stick-on backs, I decided I wanted to make my own postcards. Print a photo and use dry mounting tissue to mount it to cardstock. Easy enough, right?
Wrong. There are so many moving parts involved in making a photographic postcard.
What’s a Postcard?
The first issue—what counts as a postcard? According to the USPS, to count for postcard rate, a postcard must be at least 3 1/2 by 5 inches, but no larger than 4 1/4 by 6 inches. The postcard must be between 0.007 inches and 0.016 inches thick, which is not really measurable at home unless you have wildly accurate, calibrated calipers.
I decided that I wanted to go for 4 by 6 size, generally, although I might play with other sizes depending on the print. That’s a common enough size, it’ll get through the mail, great. (Hold that thought…)
Resin Coated or Fiber Based?
Did I want to use resin coated paper or fiber based paper? Definitely RC. I’m not printing the same photo over and over, but a different photo each week. For ease, and price, I’m going with RC. Plus, I am old-school enough to prefer film and my darkroom, but not old-school enough that I hate RC paper with a passion. Ha!
(Resin coated paper is paper with a plastic coating on it. If you’re my age, all of the photos you had printed at a one-hour photo lab were done on RC paper. If you’ve printed digital photos at home on special photographic paper you bought at a computer store, it was RC. If you’re my age and you’ve found a box of photos at your grandma’s house, and they all look like thick, heavy watercolor paper, you’ve found fiber based prints. Resin coated paper is easier to print on and doesn’t generally curl, but fiber based paper is traditional and is the norm for “fine” arts. There’s a lot more I could say about this, but just know that people are wildly passionate over these things.)
Which Cardstock and Mounting Tissue?
Then I had to decide what sort of cardstock I wanted to use. I needed something heavy enough to support the photo, but thin enough to keep it postcard thin. And did I want to worry about it being acid free, archival quality? Of course, RC paper is already less archival than FB, and then there are those arguments about dry mounting tissue… And I’m not Ansel Adams (who loved fiber and dry mounting), and I think that worrying about archival quality can be a bit of a distraction from making art (a post for another time).
So I wouldn’t worry about archival quality, but did I want to buy card stock already cut down to 4 by 6 size, or cut my own? And how heavy should it be? Which weight would be heavy enough to make a postcard, but light enough to stay within the confines of the USPS postcard standards?
And that brought up another question—what sort of mounting tissue should I get, what size would be the easiest to cut down—and of course, what’s the max size of paper my rotary paper cutter can take?
Testing, Testing
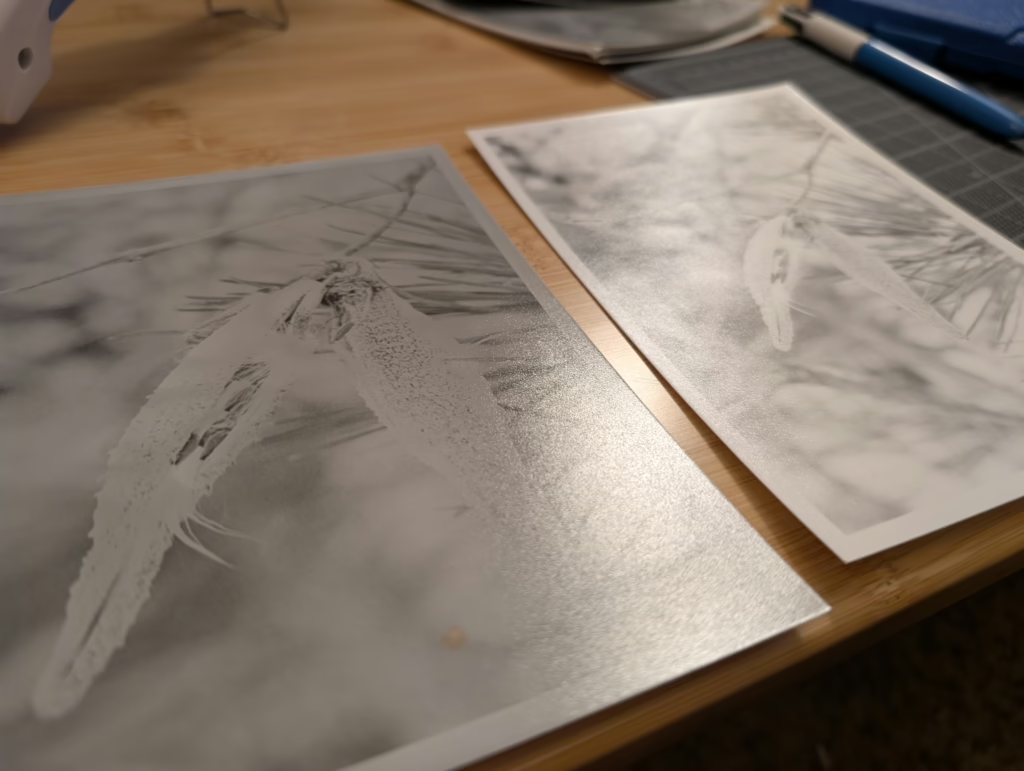
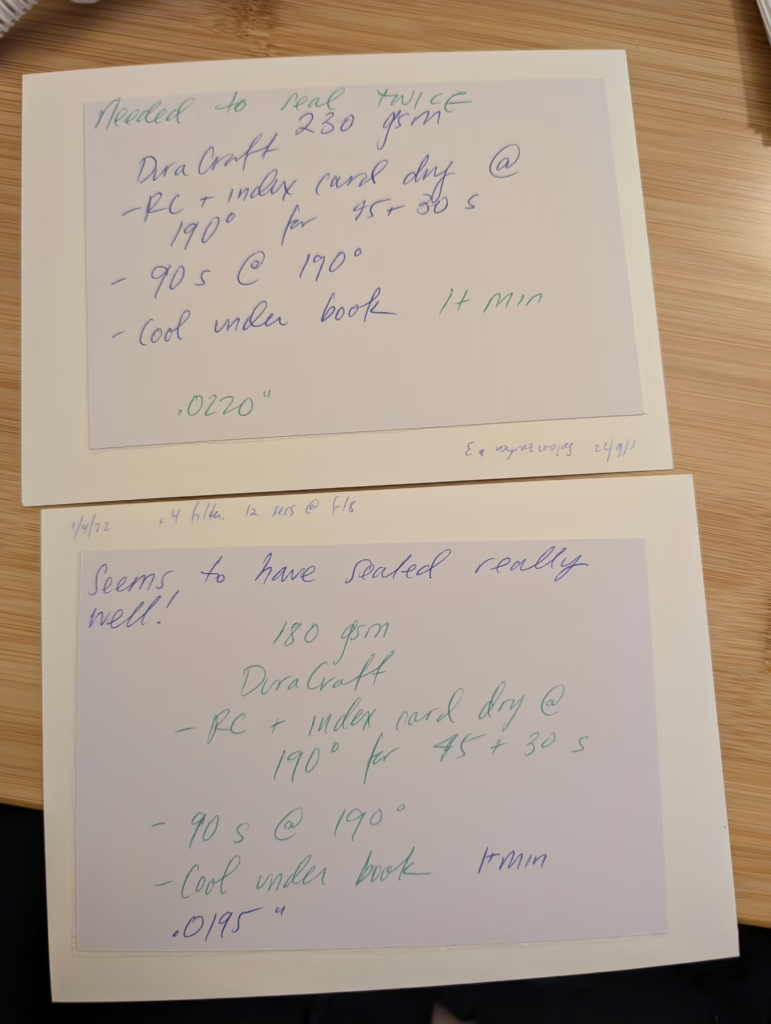
I bought a few different samples of cardstock in different paper weights, then started making prototypes. I used old test strip photos; I’d saved them in case I needed to test out things like this in the future. The photos were 5 by 7—the size I usually print in—but that didn’t matter for my purposes.
I found the heavier weight cardstock (230 gsm) made the postcard too thick according to USPS standards, but somehow, the much thinner 180 gsm did as well. I really didn’t want to go much thinner on the cardstock, because I was afraid much thinner paper wouldn’t feel like a postcard.
I considered merely writing on the back of the photos, since it worked in the past, and darkroom RC paper is relatively thick. The problem with that, however, is that I also want to use rubber stamps on the postcards, and the ink dries almost immediately on cardstock but it smears and takes several days to dry on the resin coating.
Ready… Mostly.
Once all of this testing was finally done, I thought all of the moving parts had been accounted for. All I needed to do was reorder some chemistry and some paper.
And that’s when I discovered that parts were still moving…
One response to “The Moving Parts of a Photography Project”
[…] I described in my previous post, there are a lot of moving parts to making a photographic postcard. I thought I had figured out my […]