Last year, I participated in an at-home residency facilitated by Christy Strickler through the Surface Design Association. We worked together in the spring to create residency plans (detailed in the post “From Book Thief to Pinhole Camera Maker”) and I expected my at home residency, an exploration of pinhole cameras, to be completed by the end of June 2025.
It didn’t happen.
I drafted this post some time last fall, and I wanted to come back to it when I had met my pinhole goals. I’m posting this in an effort to close the loop on this for right now as I push pause on this idea.
Building a Pinhole Camera
For my at-home artist residency, I decided to create a film pinhole camera from a kit, a paper-negative camera from materials around the home, and a third camera using some sort of unusual material.
In high school, I made a few simple pinhole cameras using a coffee can and paper negatives, but it was simple experimentation. The can wasn’t painted black on the inside (which helps keep stray light from bouncing around), the pinhole was a huge hole created with a hammer and a nail, and the negative was just torn photographic paper. I think the only photos I took were of the photography classroom. And it’s not even like I composed an image. I just stuck the can on the table and waited.
(I certainly hope to create a higher standard of cameras in this residency.)
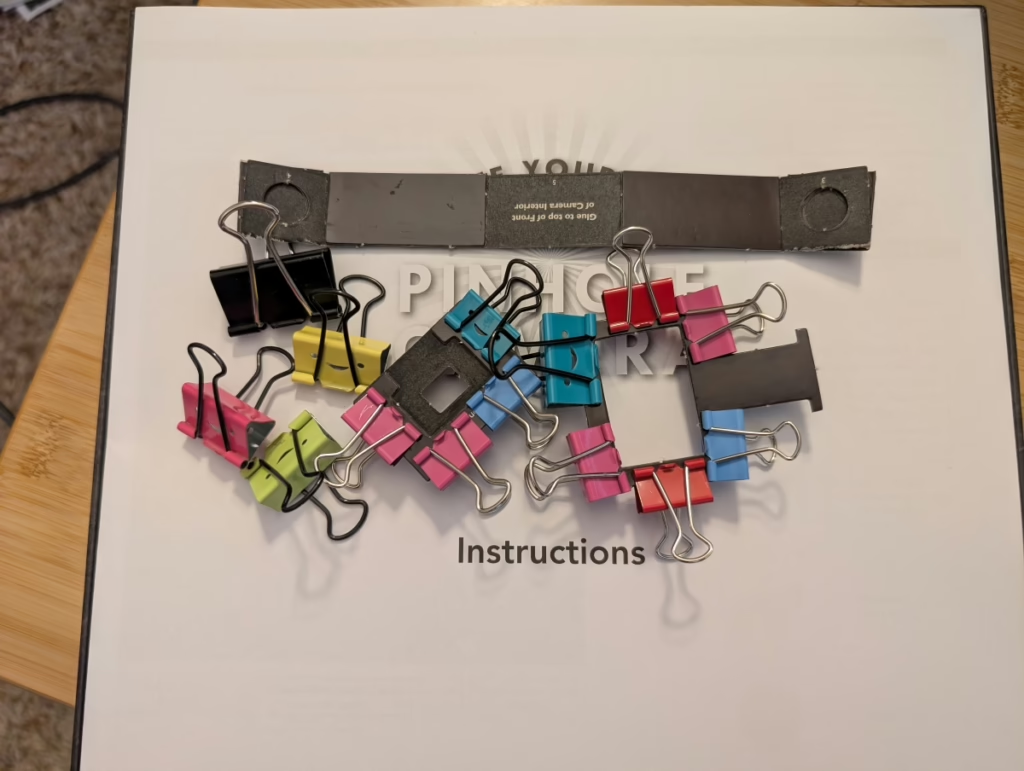
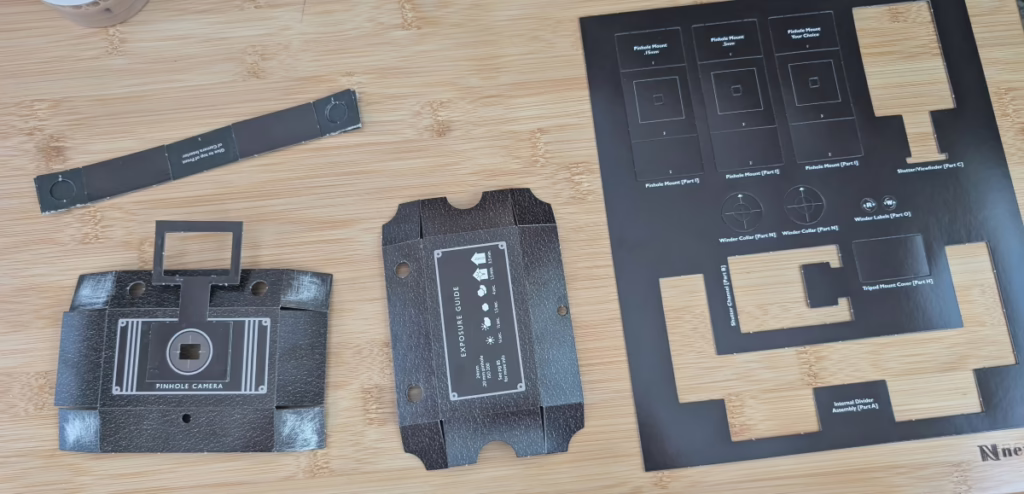
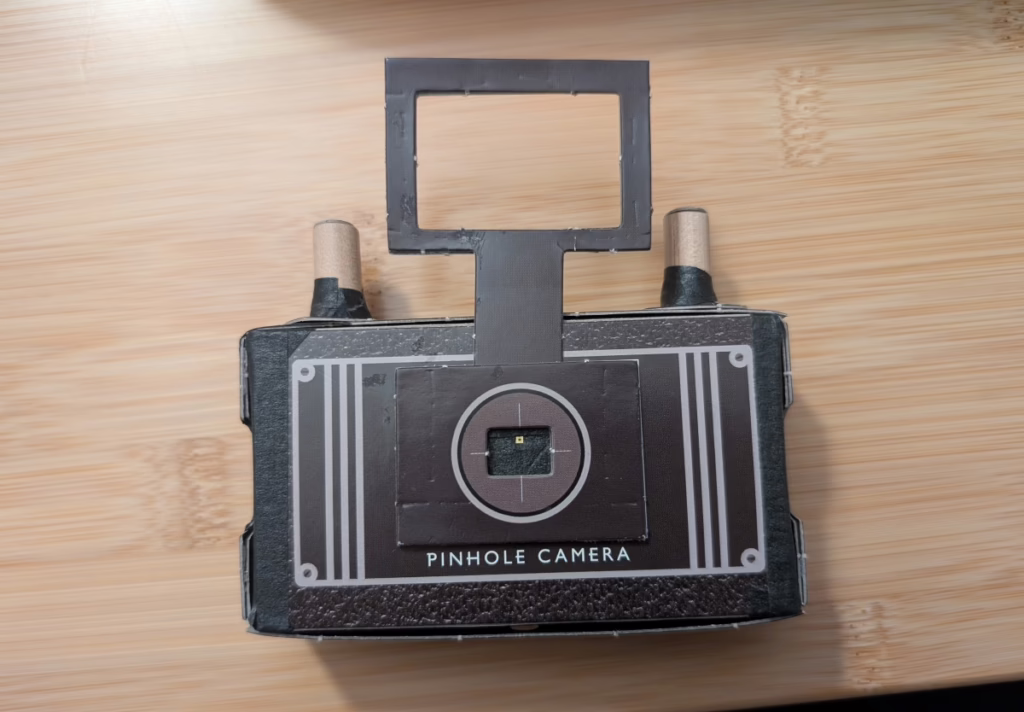
Year ago, I purchased a pinhole camera book (John Evans’ Adventures with Pinhole and Homemade Cameras) bundled with a set of instructions and materials to create a simple pinhole camera.
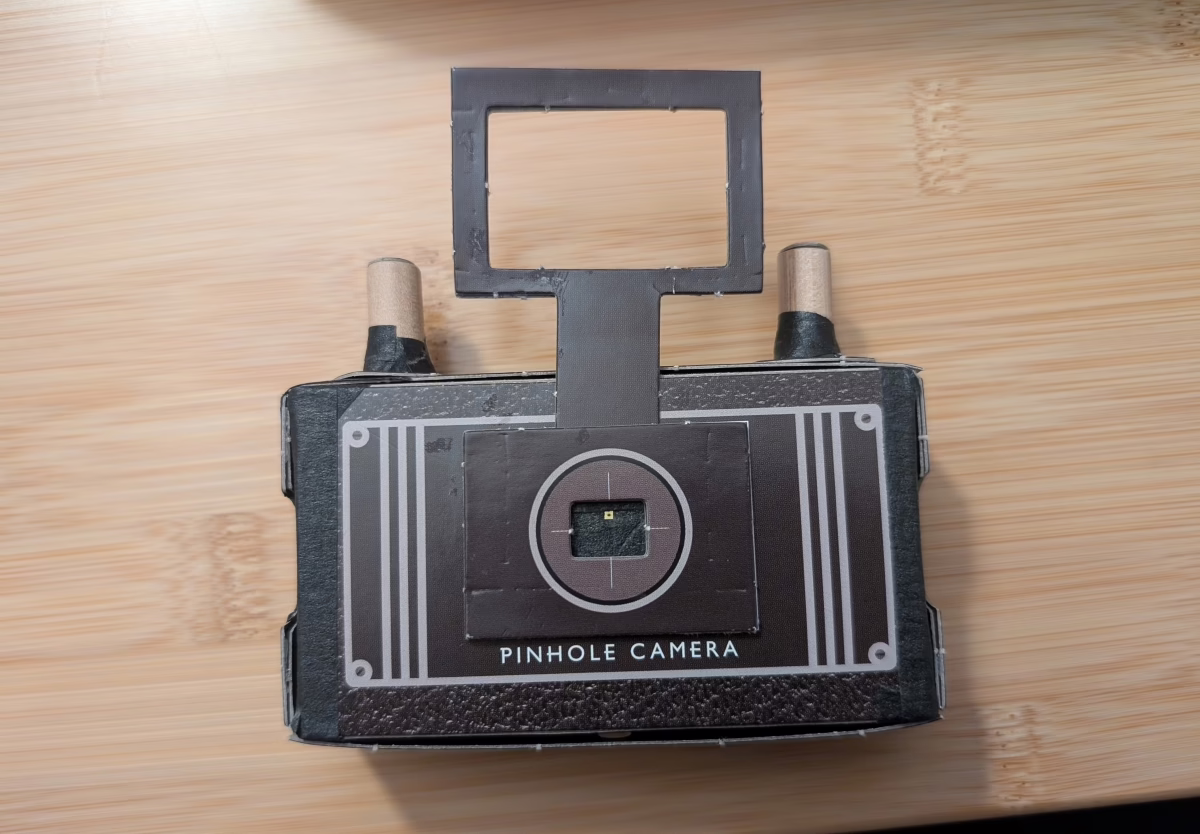
The kit was fairly easy to follow, but I ran into issues centering the pinhole. I followed the instructions on putting the lens together exactly as written, but the outside of frame of the camera is cut in such a way that the pinhole doesn’t appear centered. I think they centered the larger cutout against the entire front of the camera without accounting for the tripod mount. In other words, the pinhole is centered, but if you look at the printed crosshairs on the camera, it doesn’t appear to be.
In any case, building the camera was easy. The only thing that surprised me was how much of the time was spent waiting for glue to dry.
State Fair Photo Walk
When I was done, I took a walk at the State Fair fairgrounds. This is one of my favorite places to take a photo walk, because in the off-season I find so many things I never notice during the actual Fair. Still, I was dreading taking 36 frames at once. I’ve been spending a lot of time in the darkroom, but I haven’t been shooting a lot. I had a cold, and 36 frames felt like so many (I don’t understand the allure of half frame cameras for this reason!).
I grabbed a small tripod and headed out.
And I flew through the roll of film.
In the decades I’ve used cameras, I have developed a rhythm of working that is, in many ways, based on my technical knowledge. I move my whole body to frame the image the way I want. I almost always shoot manually, so I’m in charge of the aperture and shutter speed. I also lean toward overexposing a touch, and I bracket exposures.
But shooting with a pinhole camera made me rethink everything I knew about photography. What exactly was in frame? No idea. How long should exposures be? Not sure. Did I remember to advance the film or did I just create a double exposure? Who knows? Was I overadvancing or underadvancing the film? Beats me.
In some ways, it was freeing. It was all curiosity. Whatever happened would be a surprise.
But shooting this way was also disconcerting. The little wooden dowels that I used to advance and rewind the film fell out while I was working, so I had to scurry after them (and I risked exposing film, since the dowels were part of what kept light outside of the camera). The long exposure times necessitated a steadiness my hand couldn’t provide, so I brought a small, light tripod; but it was too small, so I couldn’t frame things the way I wanted to.
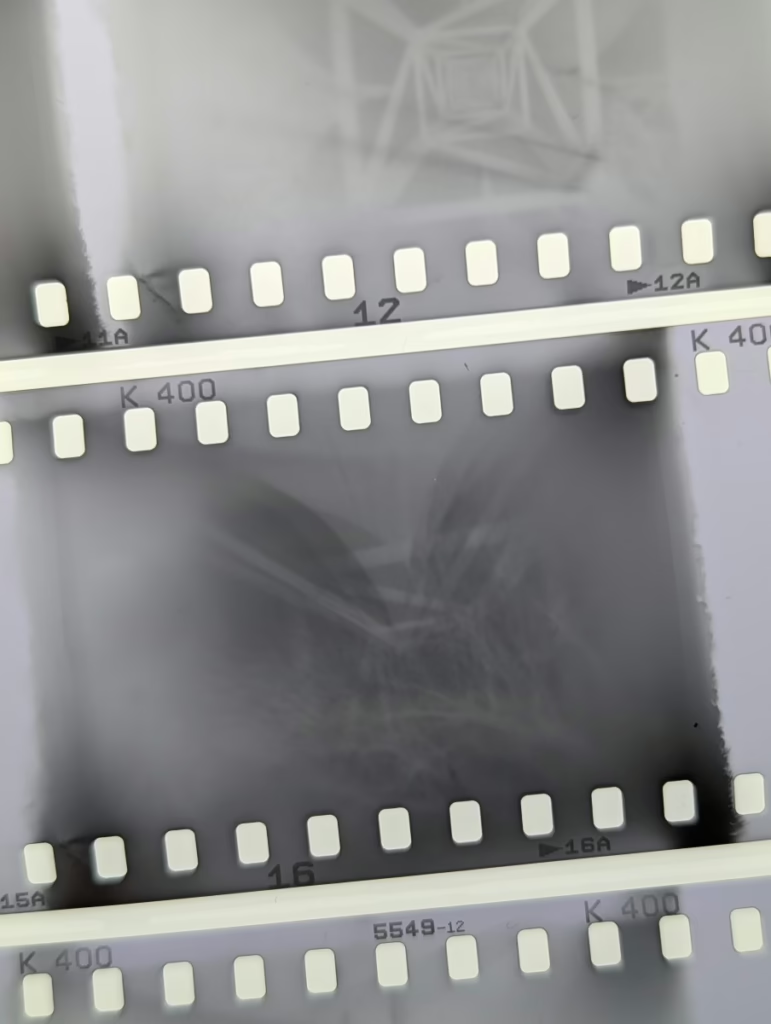
When I processed the film, I was shocked at how “wrong” it looked. The edges of the negatives were soft and feathery; a 35 mm frame is eight sprockets wide, but these photos were more like nine or ten sprockets across. I should have expected this, since the camera is made of tagboard and glue. But it still felt like I had messed something up.

I could see the potential, but the pinhole camera needed some more work to help with light leaks. I thought some more black tape would help. So would using some rubber bands to hold the front and back parts together; the rubber bands might even help keep the winding dowels in place.
And… then summer happened, and I put the pinhole camera away and did nothing else with it.